A couple posts ago, I’d shared the idea of framing vintage coins to make custom art. I had a friend ask me how to go about doing that, so I thought I’d share an example here. How to mount & frame objects into art! There’s 4 key steps to it.
Select what you’re framing (this could be coins, vintage objects, botanicals etc - more ideas below)
Select what you’re mounting it on to (board/fabric)
Mount & back it
Frame it (the frame should be deep enough to contain the objects. Use a shadow box or a deep frame)
Here's a step by step with pictures.
I’d picked up this skeleton key at a vintage shop sometime back. I chose a light grey pebbly fabric to mount it on to. Because the frame was going on a white wall, I wanted the fabric to have some texture (as opposed to a flat white background), hence the grainy fabric. Plus, the key looks pretty on it!
Step 1 - Position your objects (in this case, the key) and cut & size the fabric. Glue it on.
Step 2 - Mount the fabric onto your backing (this frame came with an additional piece of glass that I used as backing. Professional frame shops apply it on a backing board).
Step 3 - Frame & hang! (the fabric is creating this ribbed effect that I’m liking very much)
There’s lotsa interesting objects that can be framed into art! It can be as simple as taking a walk in the park and picking up a few fallen leaves, or looking into your memory box for a few things. Or you can source online or go to a vintage shop as well. A few examples below.
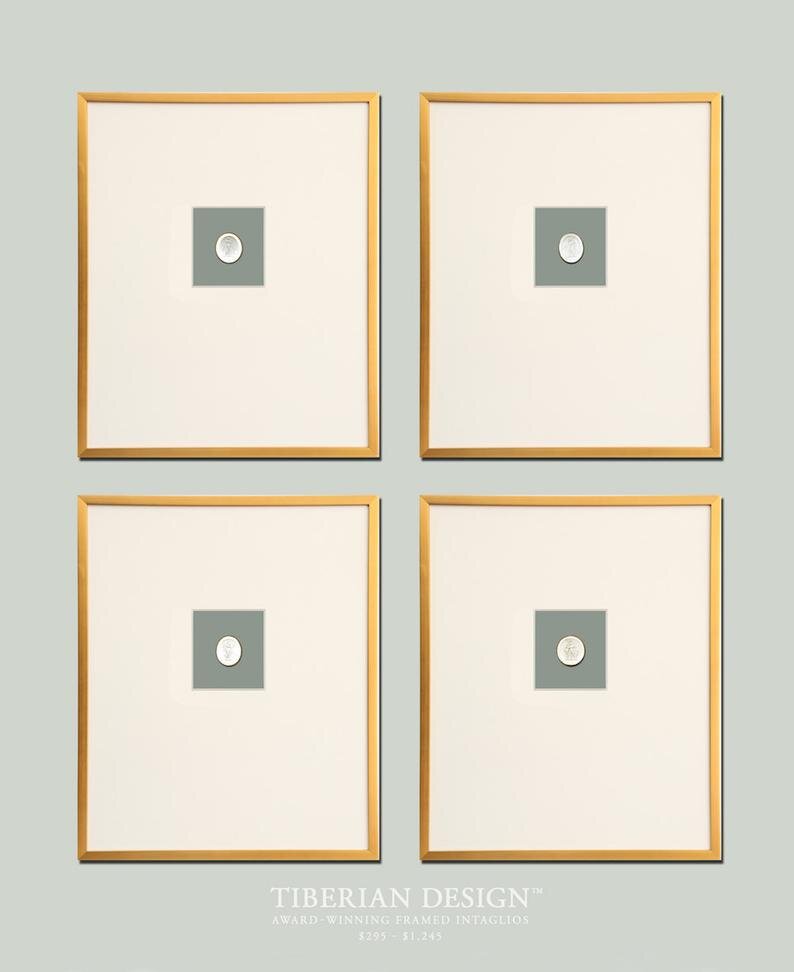
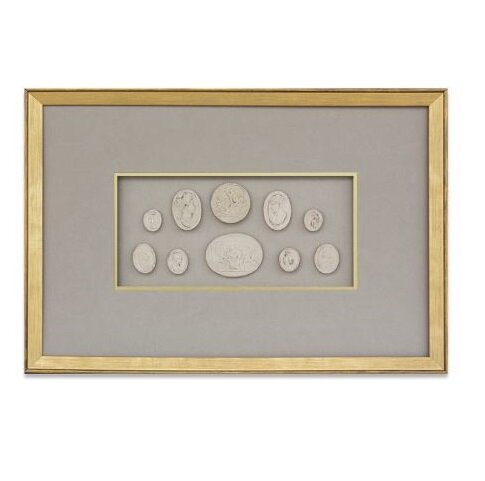
Intaglios (here’s a set on Ebay)
Vintage keys
Colorful scarves
Erin Gates Design
Letters (from the home of Michael Korrs)
Architectural Digest
Pressed leaves (like here)
Framing textiles! (I don’t mind at all that the extra large framed ikat on the left isn’t perfect & that you can see the breaks in the print. Imho, it adds to the beauty of it!)
Pottery Barn - framed hand painted textile (you could do this with a colorful, artistic fabric you have at home!)


